Since the accidental friend circle issued the next Lenovo Y460 ash removal operations, now often have colleagues come to ask for cleaning, and embarrassed to ask them to collect money now free time is basically used in the notebook. Including the last time the Lenovo Y460 portal, welcome to reward:
Brought to you today is the Dell Inspiron 1420 teardown operation, which Dell also said it was rather wonderful, the owner maintained OK, suddenly one day in the first half of the video, so have been discarded in the corner, on After seeing my disassembled work, Zhou took a try and gave me a hand to help him look at the repairs. (The pit was a bit big. When you made a circle of friends, to show the pendulum, you added "Can you repair the computer?" sin ah), try holding the psychological boot, sure enough, a piece of straight roads (here, forget to take pictures, because I did not expect would be issued), preliminary estimates should be card issue and found that everything is normal with PE into the system, so in safe mode under re-install the graphics a bit of a drive, smooth start-up after the restart, a happy heart, I still had a little of what capacity, less than half an hour to solve the computer back to colleagues in exchange for a "thank you" well, anyway, Just half an hour before eating, I became charity. I thought that things had just passed, and I had never thought that my colleague had come again in two days. I said that it was broken (your TM's funny me playing). This time it was a direct black screen. . . . . Oh, no way, do a good thing to the end, send the Buddha to the West, and then take a look. This time they power up the boot screen DELL did not jump directly to a black screen, no way, with PE into the system and found that normal again, pull down the memory re-check, and then into safe mode there is no problem, this is my little trick Only reinstall the system. Colleagues said that there is no important thing in the whole casually, formatted the C drive to reinstall XP again (the original system has been installed for 12 years, and it is suspected that system drivers may not be compatible).
Half an hour later the system is installed, boot normally, incidentally, help him optimize the system, did not find any problems, grow breath back after the colleague, co-worker in exchange for a bottle of Gatorade, I thought finally a little improved treatment, A bottle of drink is also good! On the second day, my colleagues said that it was normal and that I had also finished a Warcraft RPG. Fortunately, I had not been debuted until my debut. It wasn’t a long time. After two days, my colleagues came again. They were black again. I went to class. At this time, my heart seemed to have 10,000 mud horses saying “I’m mad at you, I’m mad at you†while I’m from Pass by. Only zooming in (actually the last move), "Your computer took over, I want to dismount it, oh no, it is carefully cleaned up." Then with today's disassemble operations, gossip a bit more, below Start today's disassemble operation.
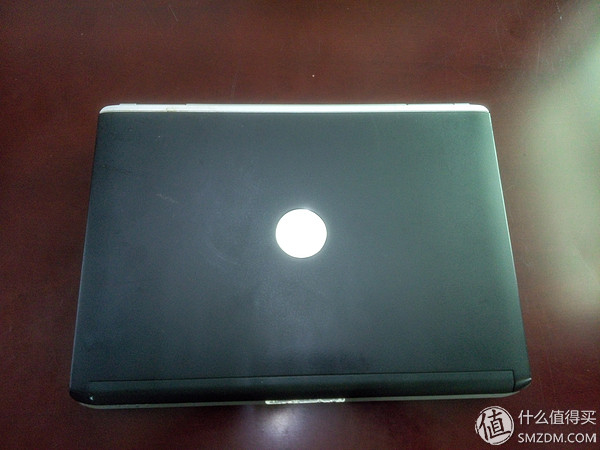
The appearance is still relatively good to see that the maintenance is also good
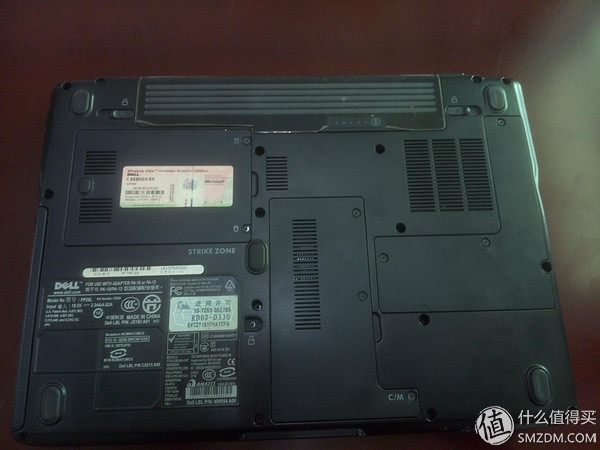
 The most basic back cover and battery separation
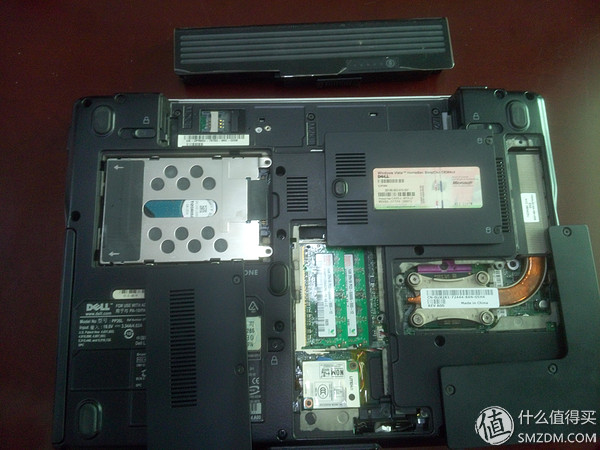
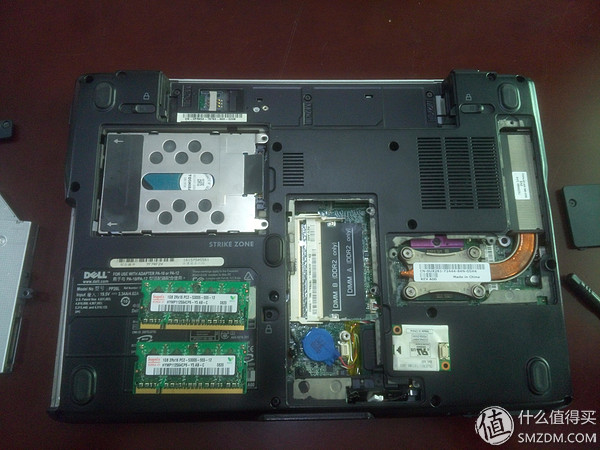 Then there is the separation of memory, hard disk, wireless network card
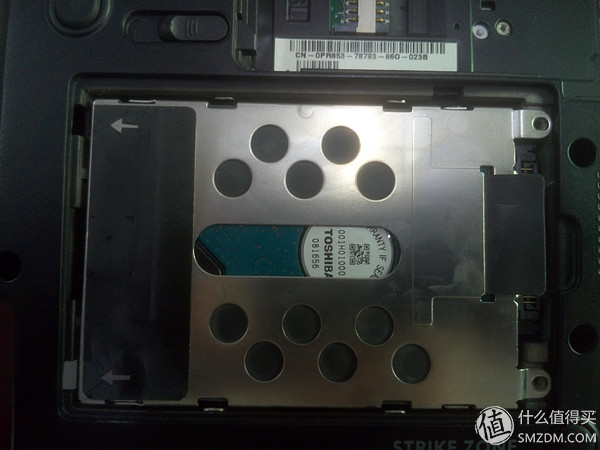
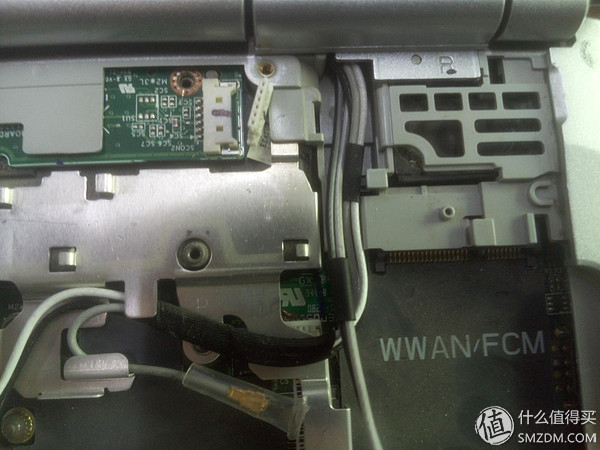
Speaking of the hard disk here, no screws were found after the back cover was opened, and it was not pulled apart.
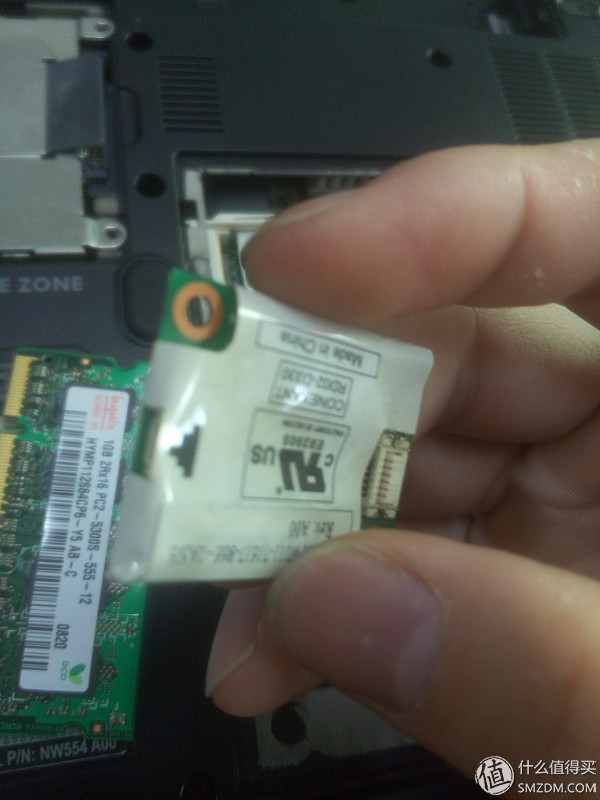
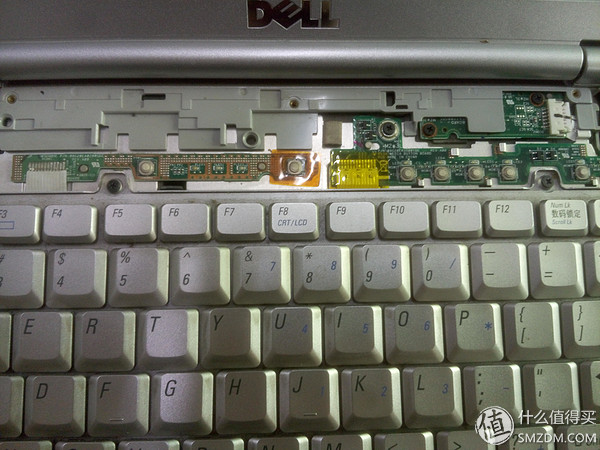
Began to think that this is a wireless network card, but also how to find the interface so strange, and later discovered that the wireless network card in the C surface of the keyboard, did not figure out what this part is.
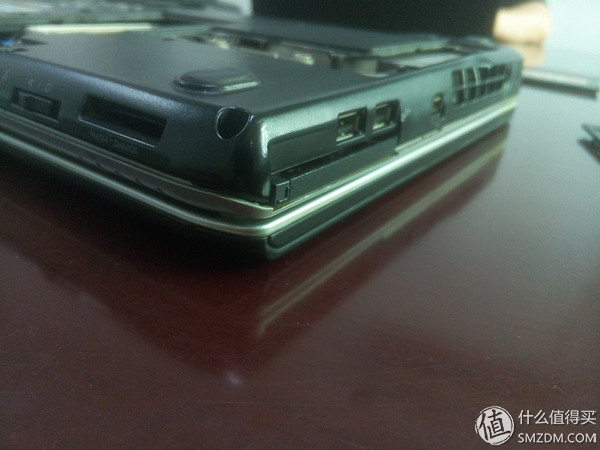
After all the screws on the D side have been unscrewed, the rear cover has been somewhat separated, and it is the turn of the crowbar.
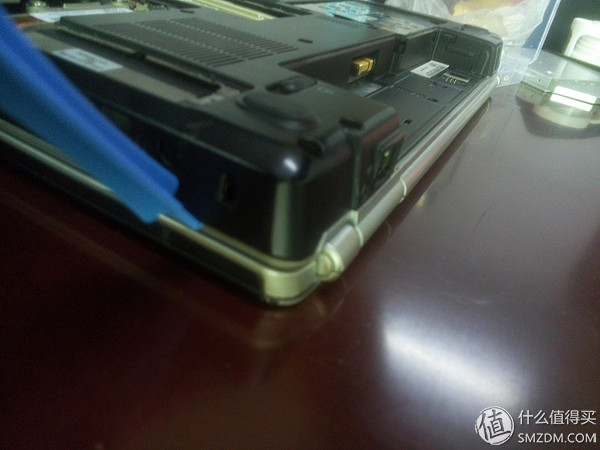
After a while, I noticed that there was no buckle, but the rear cover could not be removed. Well, it still only started from the C side.
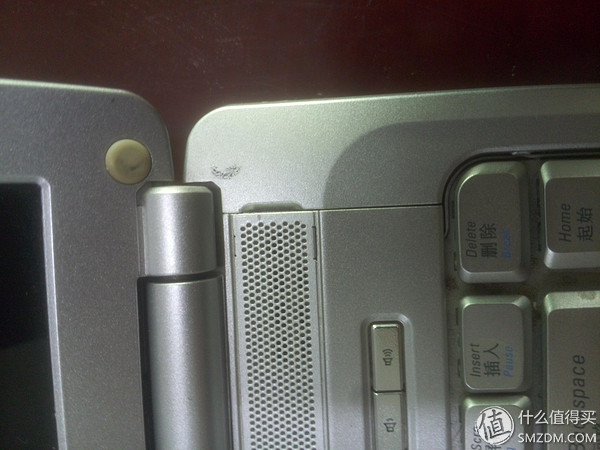
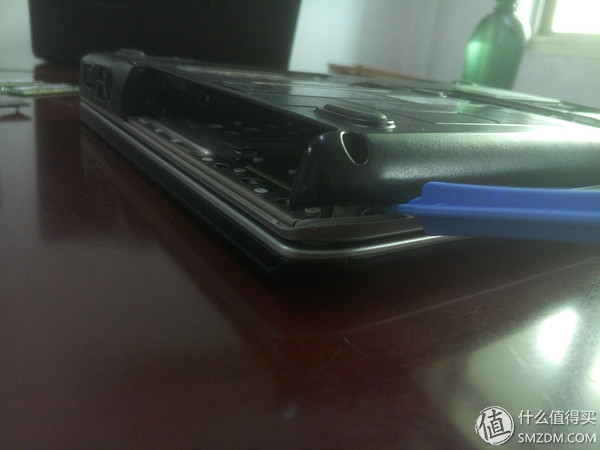
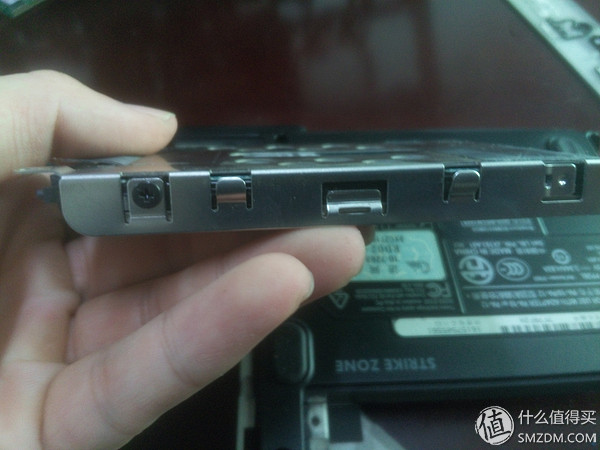
This switch panel design is good, there are special crowbar mouthwash
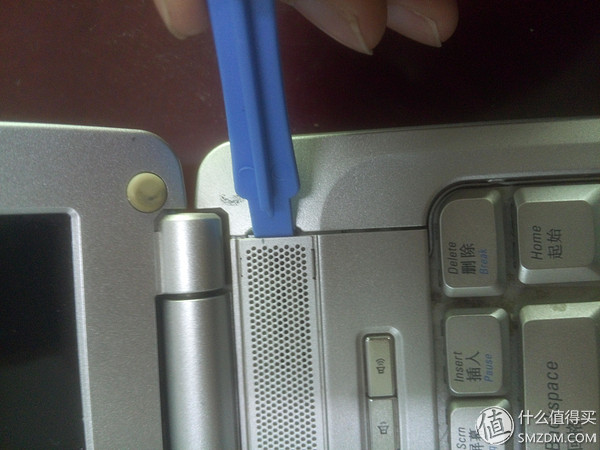
Properly inserted, all the way to open without suspense
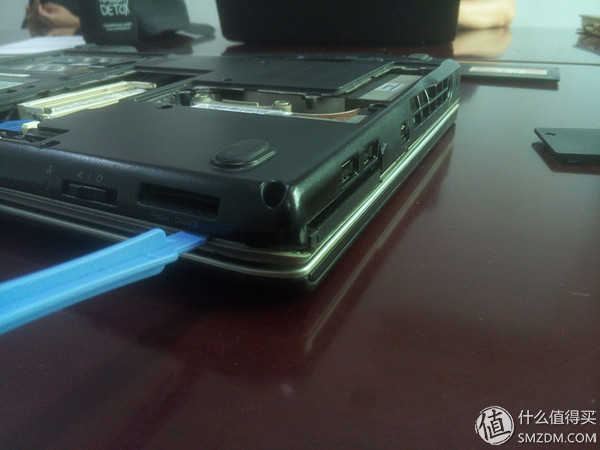
 There are two snaps here, one is a little harder, and another one is easy to open
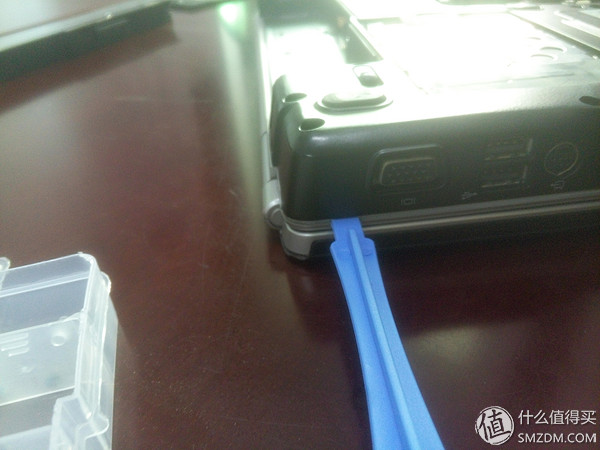
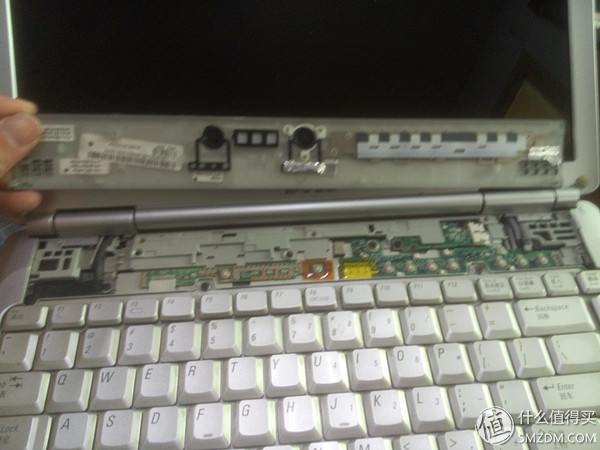 The switch panel is separated, the following is not used to connect the cable
 The keyboard is fixed with two screws
 The C surface is clearly visible
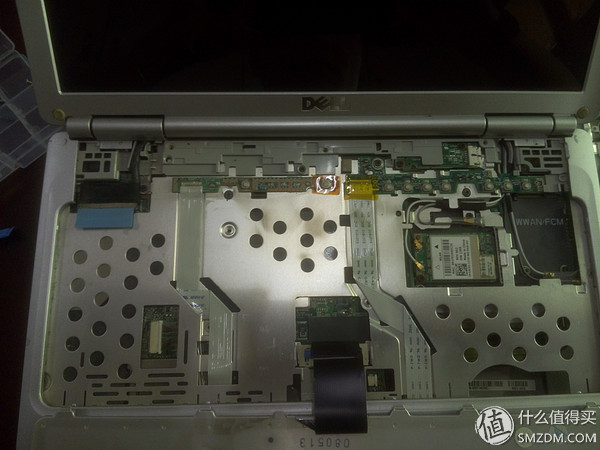
 Separate all the cables
After removing all the visible screws on the C surface, it was found that the D surface of the C surface could not be separated. After looking at the joint, it was found that there were two screws behind the surface.
The two are also screwed out and grow out of breath, hiding in the original here (here to remind everyone, the separation of the C surface and the D surface should be a little bit of separation, do not be brute force in the event of separation, so as not to cause irreversible losses) Continuing the separation work, I thought that the twists and turns should be able to separate successfully. I didn't expect it to be a little bit worse. After a few determinations, I found that the fixed point was basically in the upper right corner.
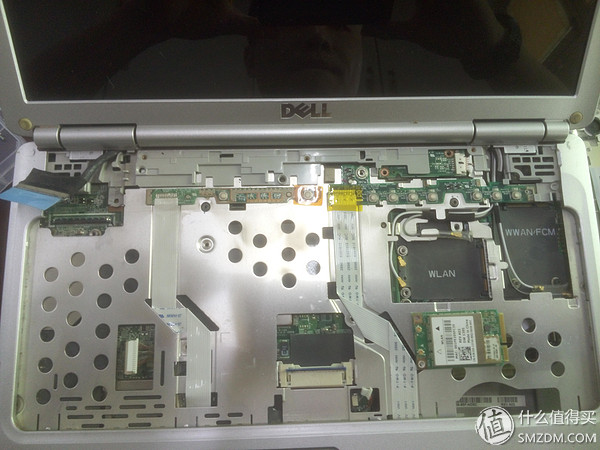
 In the upper right corner, it seems that no screws have been found.
 I went to hide here
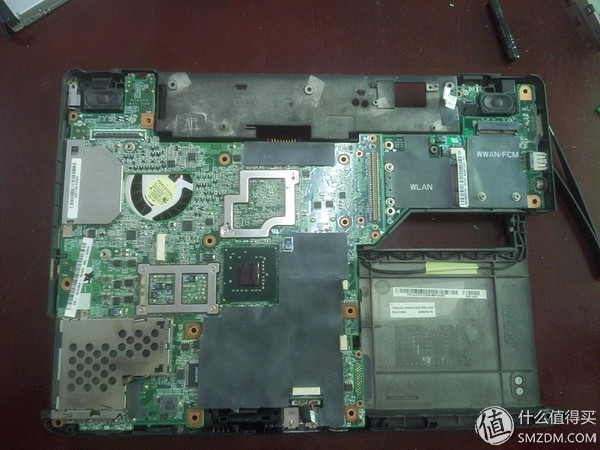
After the removal of this hidden version of the screw, the D side finally came down.
 It is not difficult to separate the motherboard. After the screws are removed, they are down. Take care to remove the cable.
At this time, it was found that the hard disk did not have a screw and it was hand-stitched.
 The original is that the elastic deduction on both sides is tight
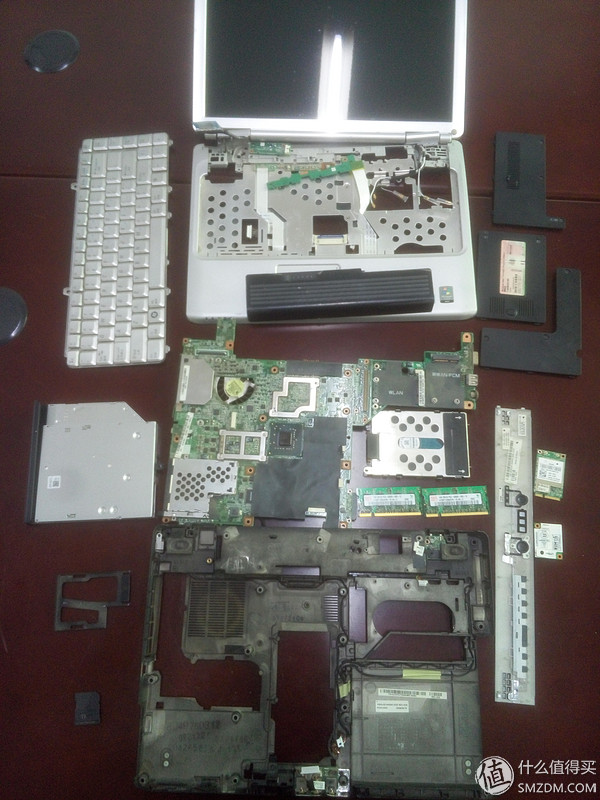 A family portrait
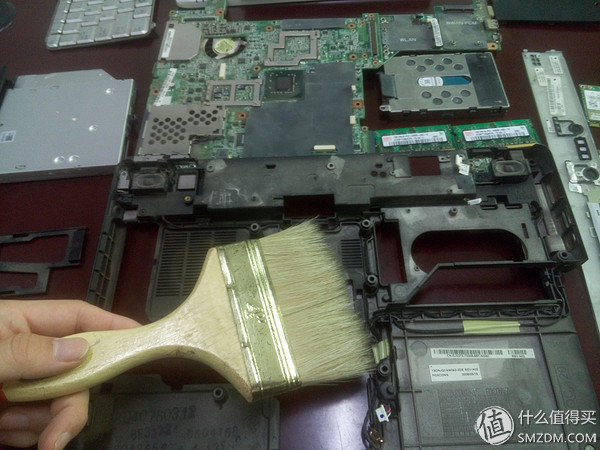
Disassemble the machine here is basically over, take a break after a drink and take out the cleaning tool
 The back cover can also, no dust
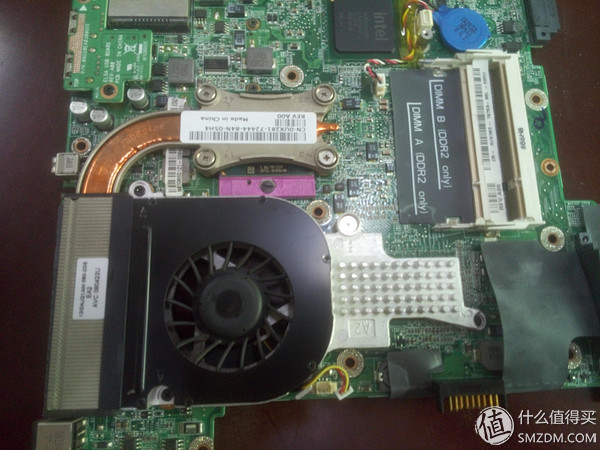
 The motherboard is also okay, it seems that the working environment is good
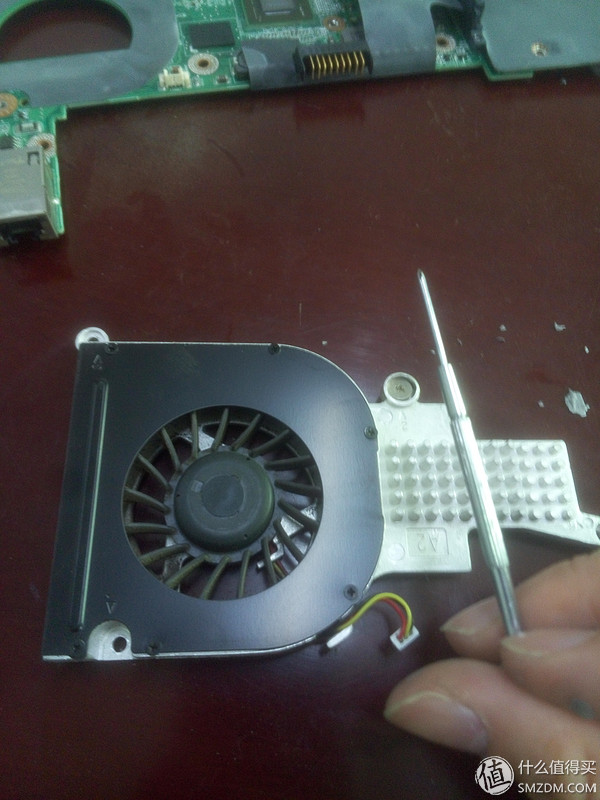
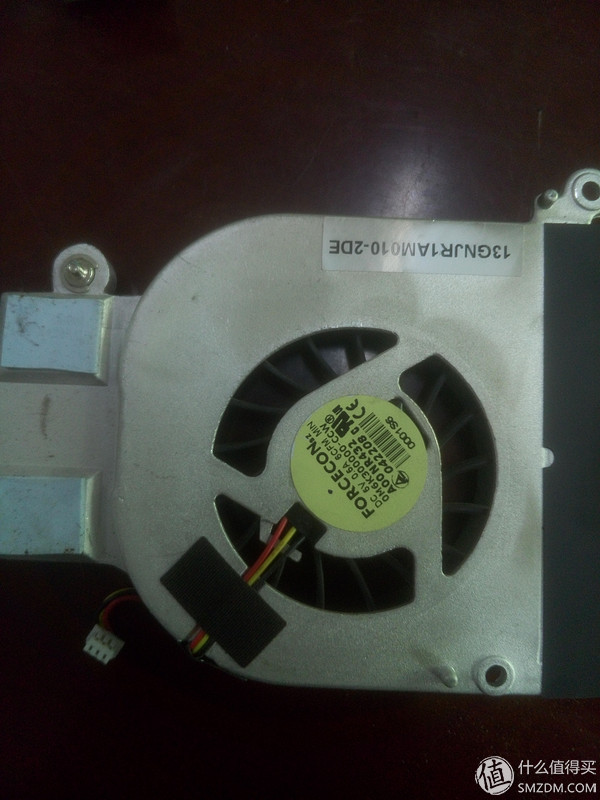
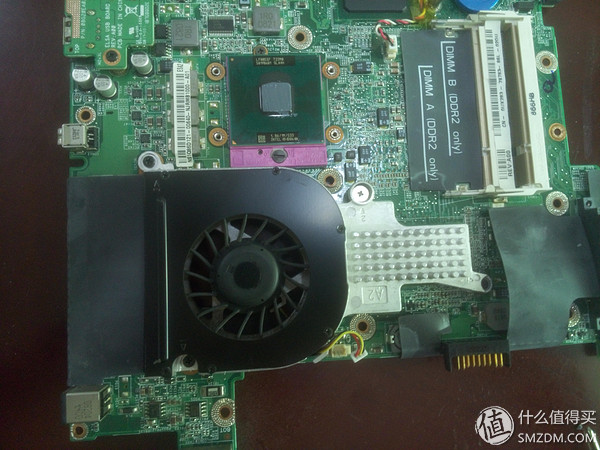
 Old routine, remove the screws and remove the cooling system
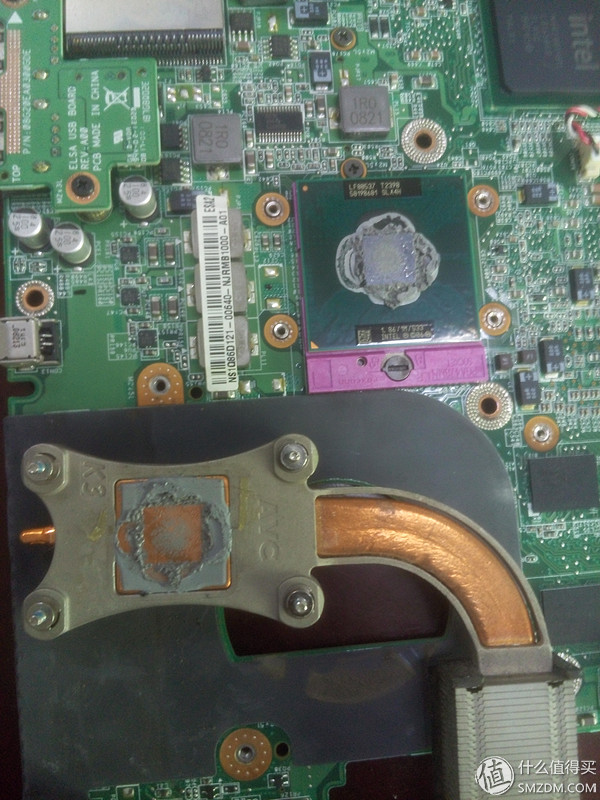
Here is only a heat pipe, only responsible for CPU cooling, video card cooling by aluminum, fan assembly there are two sticky adhesive (black and white two)
Finally it was a little dusty, I thought it was so clean
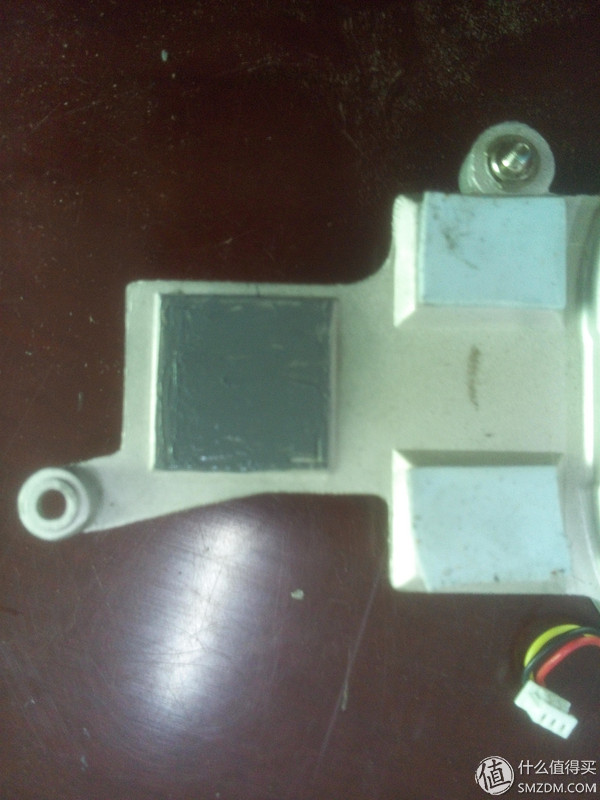
 This grease is ugly
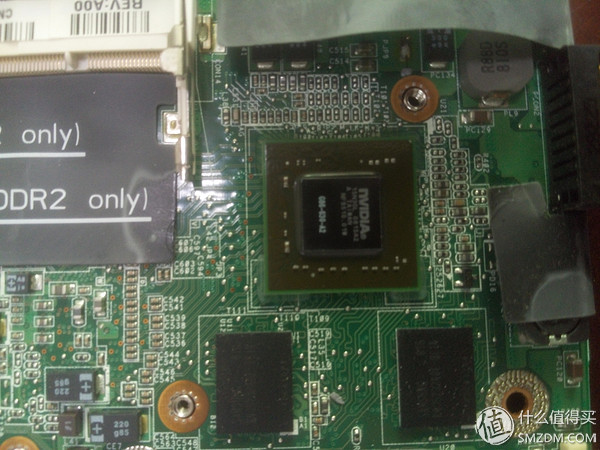
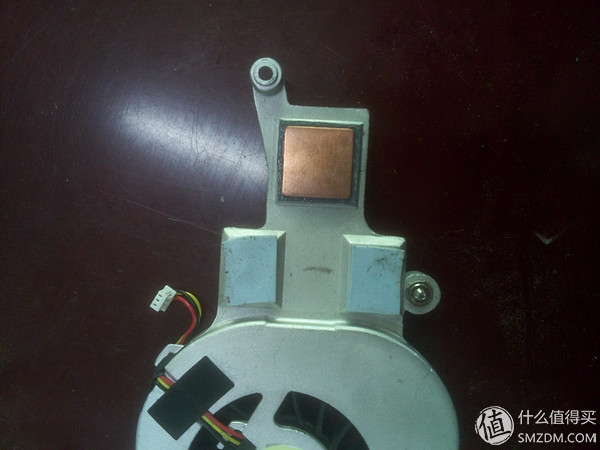
 Clearing up is much better
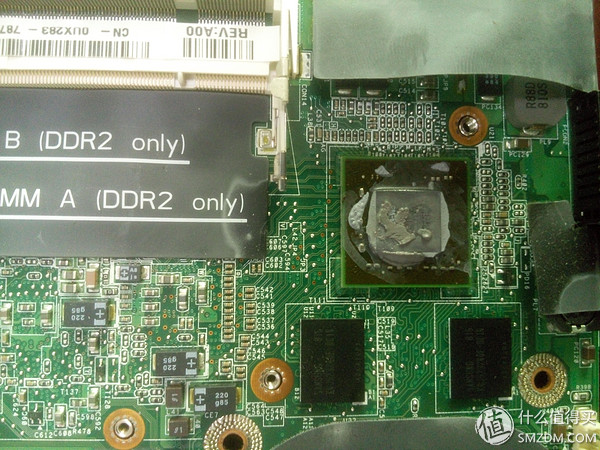 The silicon grease on the video card is still liquid, slightly better
 Use a toothbrush to clear
 Basic clean up
 The grease on the copper tube is also cleaned
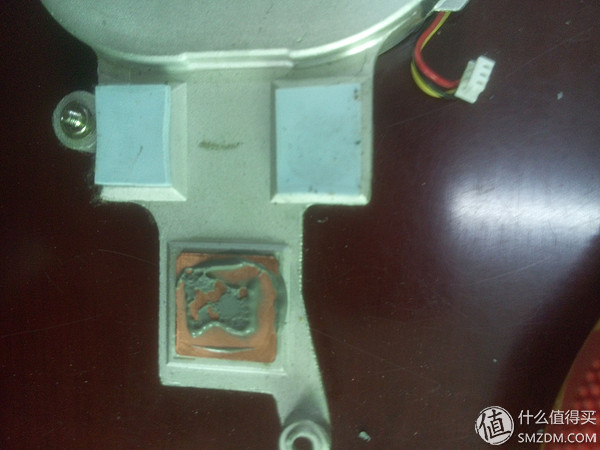 There is also a video card on the aluminum
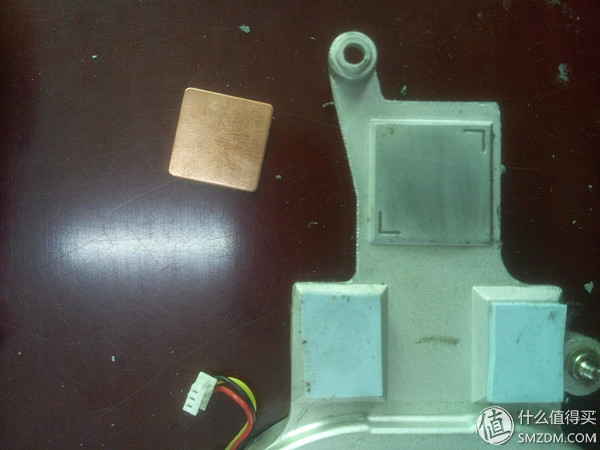 This copper piece is stuck on silicone grease. . .
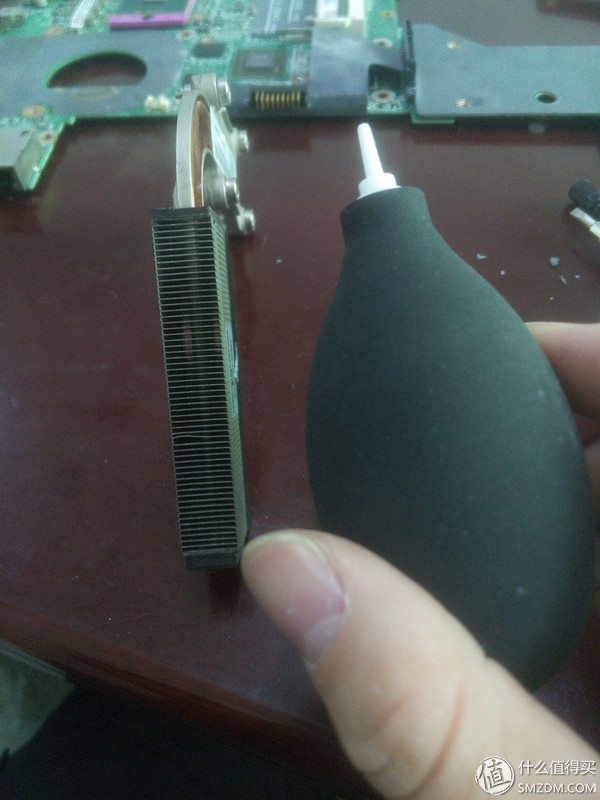 Leather tigers are used to cure dust from various gaps
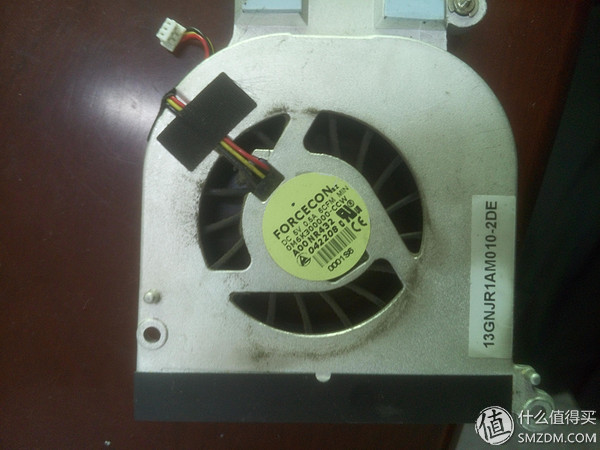
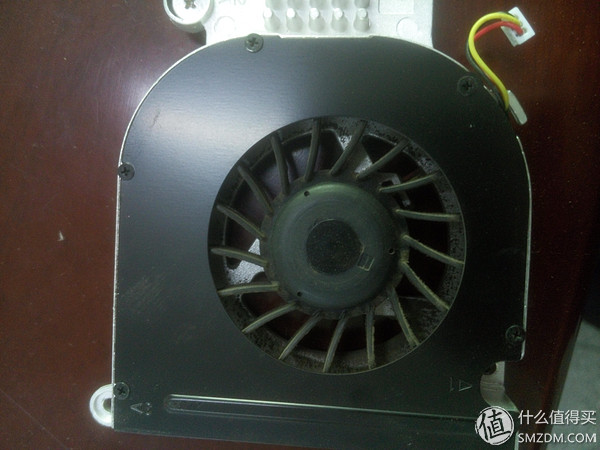
In fact, the fan is not very dirty
Want to use a small screw to open the cover, found that the screw is too tight, the clock screw is not strong enough, afraid to take the flower pattern twisted, forget it with a leather tiger and a brush to clean it
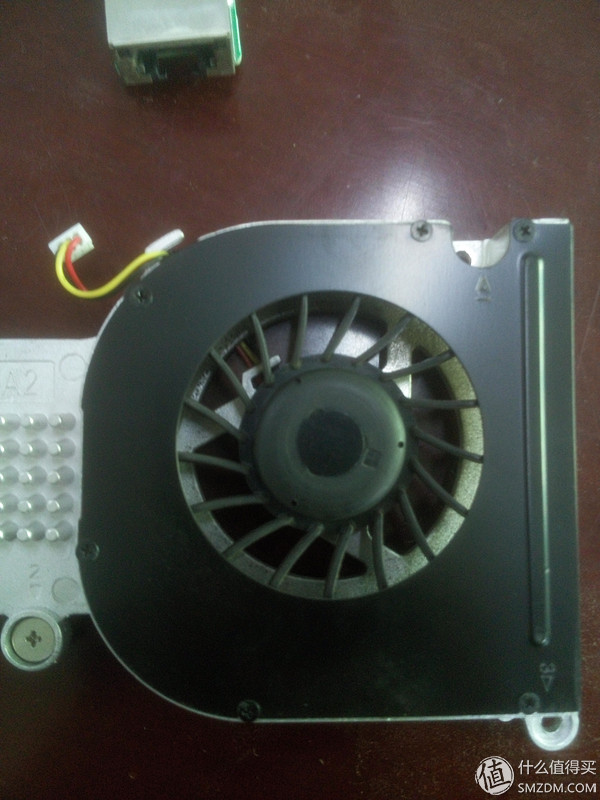
The effect is OK, so be it
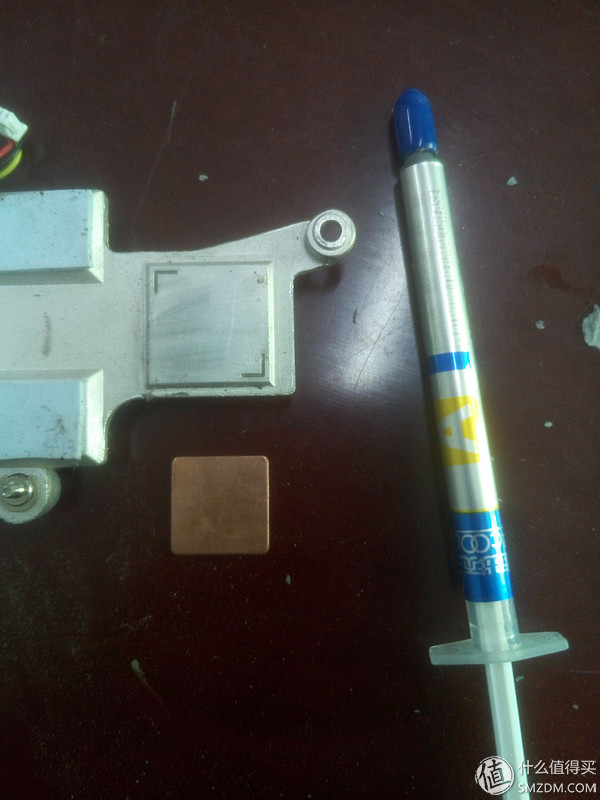 Overclocking 3 silicone grease launched
 A little bit is enough, then scrape it with a scraper
 The level is limited, it can only be scraped into this
 Put on copper
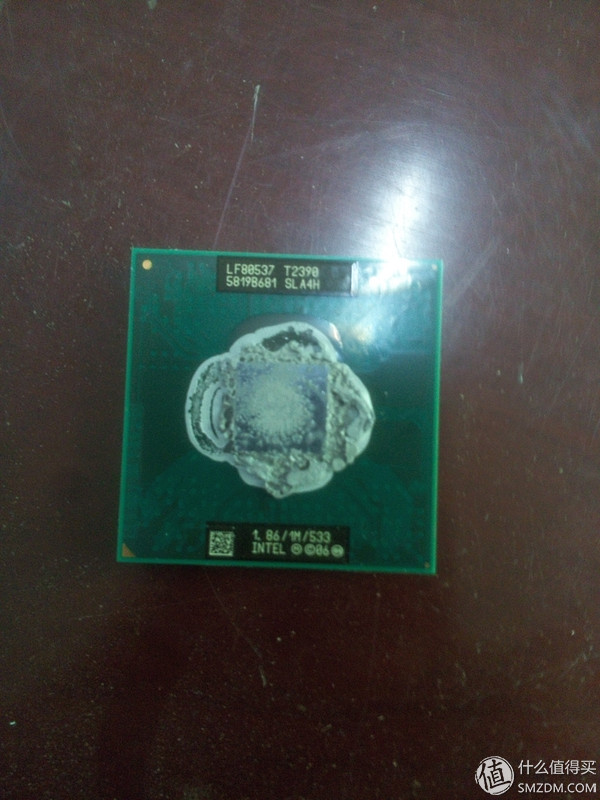
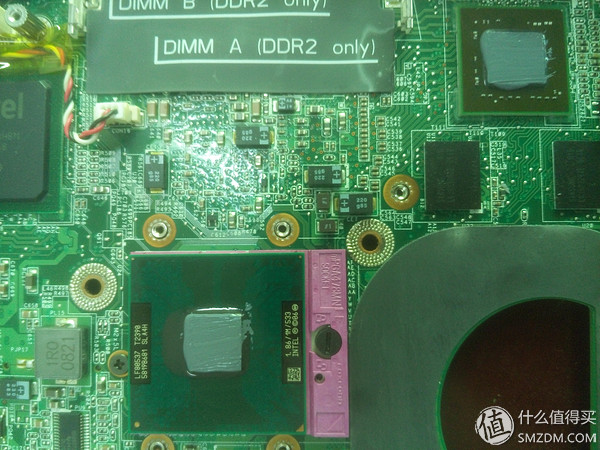 CPU and graphics card also replaced with new silicone grease
 Reinstall the fan and brass
 Finally replace the motherboard back cover

Here spit a groove, Dell's screws are used more, screws are more screwed and tired, and put back to spend more energy, but instead of easy to break the buckle, which is good or bad judgments by your own. When you go back, don't rush to screw on it. Be careful to connect the cables first so that you don't screw them apart.
 Connect the power supply and start up smoothly
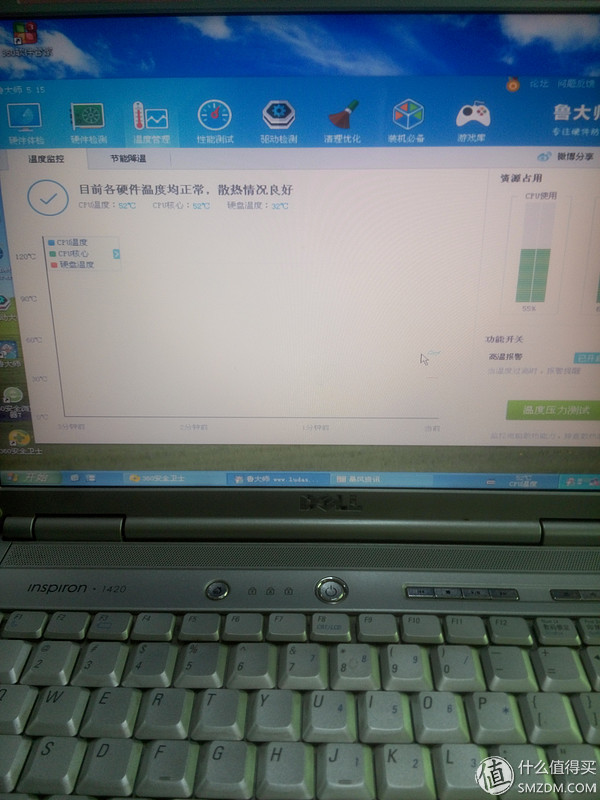 Looked at the temperature, it's OK
Well, I can do everything I can do. If this computer can't be used normally, it depends on God's will!