Originally wanted to write experience, but at a glance it was not enough to write an experience material, so it was written as a drying thing and I hope to be able to help a friend who wants to install monitoring.
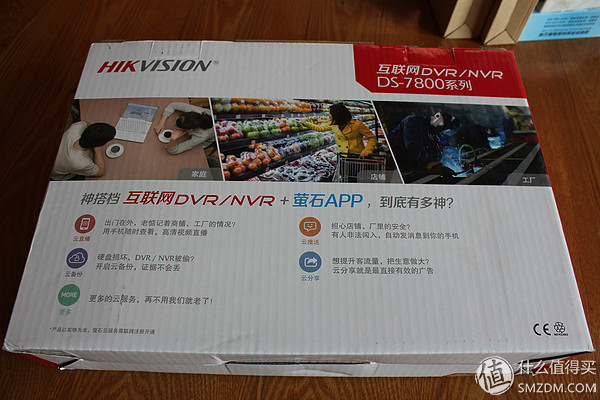
There are many ways to monitor the assembly. First of all, the composition of the monitoring is very simple. The monitoring is very simple. The most important thing is the surveillance camera we all know. This is the main component of the video capture, and then the device that stores the monitoring data. Usually there is a computer. There are two types of storage and dedicated surveillance video recorders. The surveillance camera is further divided into a camera and a webcam that output ordinary analog signals. Similarly, monitoring video recorders are also divided into DVRs for analog signal recording and NVRs for network signal recording. The analog signal transmission uses a video cable, and the network camera transmits a network cable. Oh, there is another point, the camera has three different types of bolt, hemisphere, ball machine, corresponding to different applications, the general static only need to monitor a fixed area of ​​the selected bolt machine on it. The bracket of the camera is divided into ordinary bracket and pan-tilt, the ordinary bracket is fixed, and the pan-tilt can be controlled to rotate within a certain range through the network. In fact, to put it plainly is the difference in the transmission of data generated by the two different ways of forming. Computer storage, analog data recording also requires a capture card, network data, as long as there is a corresponding software on the line, of course, can also use the NAS system as a monitoring data acquisition and storage. Hikvision's software download address is here, and other brands will also have corresponding download release. I think from the power consumption and stability, the choice is the network video recorder.
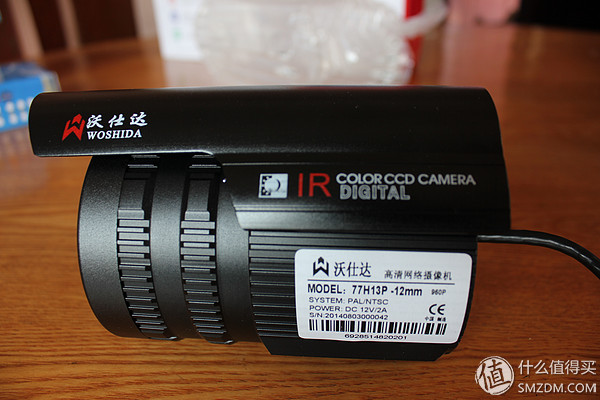
Because of the convenience of the network and remote control, the monitoring system is now generally used. Let's look at my hardware options first. In the field of security monitoring, Hikvision is a relatively strong and long-established manufacturer. I originally wanted to use Hikvision as a camera and video recorder. However, the day I had no choice but to buy it, I was helpless. Changed the camera of Wo Shida.
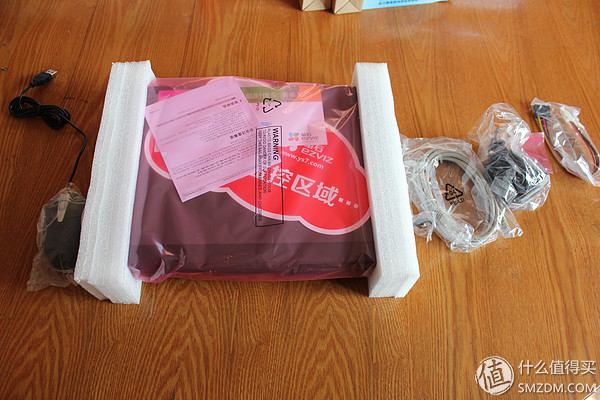
Yes, there are so many equipments needed to set up a monitoring system. Of course, as I said above, there are other ways to set up. In addition, several network cables and power cables are needed, as well as routers or switches. Jingdong delivery is really fast. The singles on Thursday and Friday are coming. It's just a weekend. I started to drum up my monitoring system.
The bills officially started:
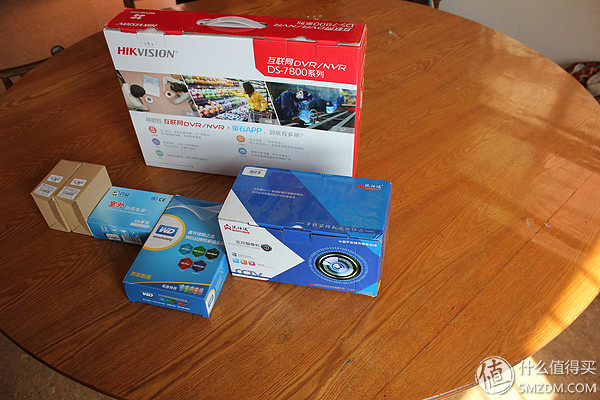
Let’s start a family portrait
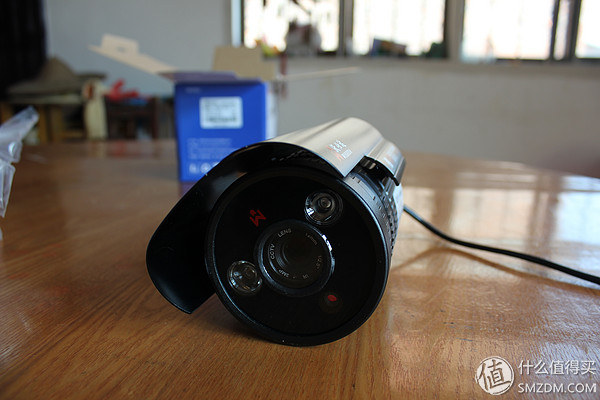
This is the surveillance camera
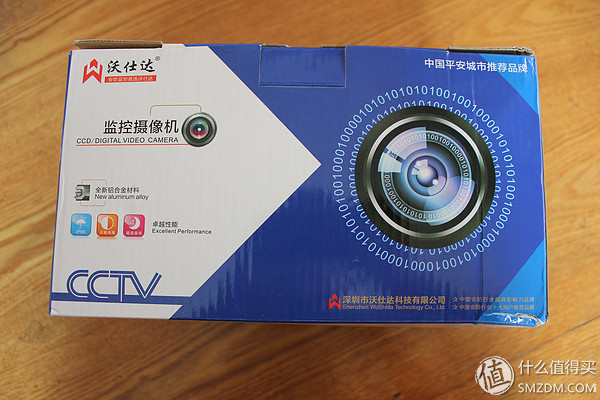
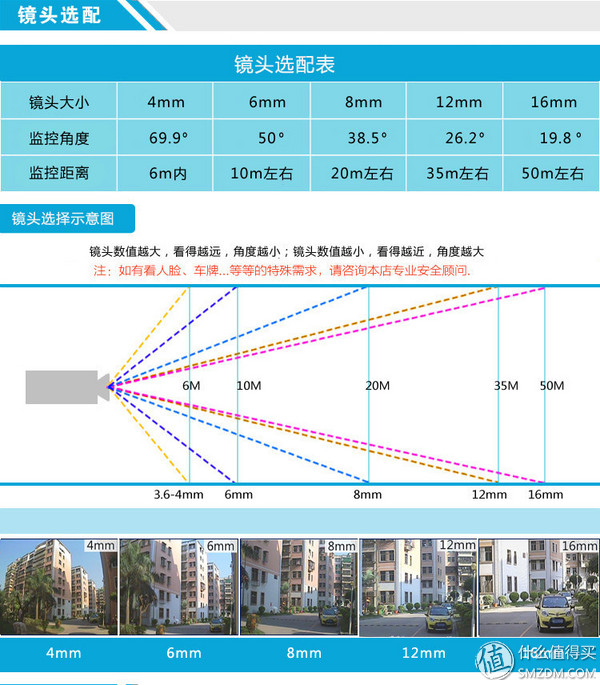
Want Hikvision This is out of stock, and then chose the Wo Shida this effect is also good. Oh, here are a few more words to be added. The surveillance camera usually has 4mm, 6mm, 8mm, 12mm, 16mm, etc., depending on the size of the lens. It can monitor the area up to 4mm, and can capture the closest distance to the nearest 4mm, and can capture images. Sharpness 16mm clearest, customer service told me to shoot people face, take pictures or something, use 12mm lens, everyone choose according to their actual situation, I chose 12mm, but due to distance and In terms of height, the final monitoring area is only as big as the front door. I was thinking that if you choose 8mm, it's just fine. . Stealing the above Jingdong map to deepen everyone's understanding:
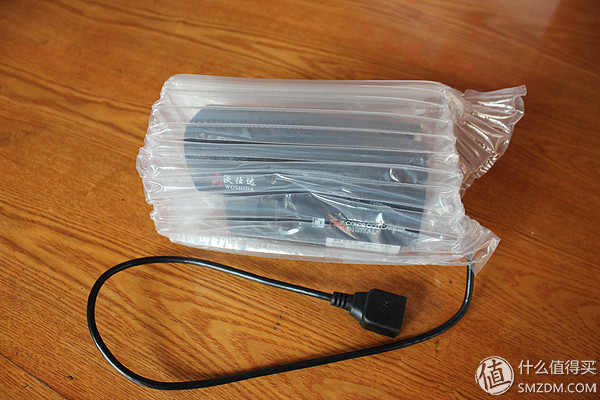
Authentic open box figure, defy false open box

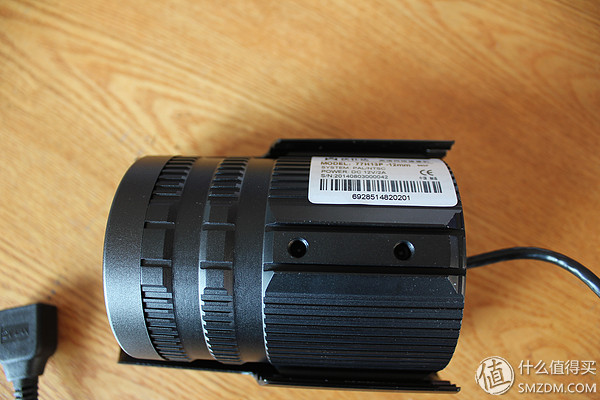
The line coming out of the camera is such a one, forget to take details, a net mouth, a movie plug.
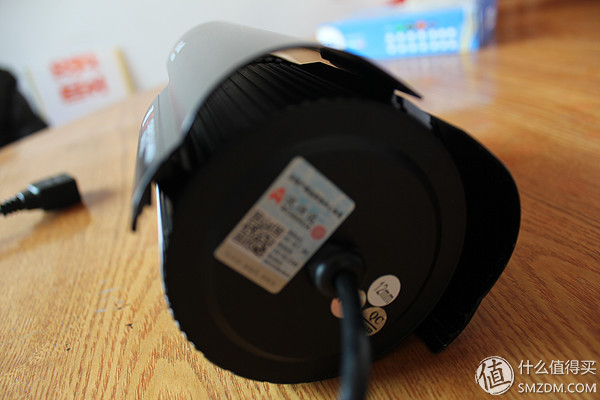
These two holes are used for mounting brackets, generally only need to be screwed on one to fix it.
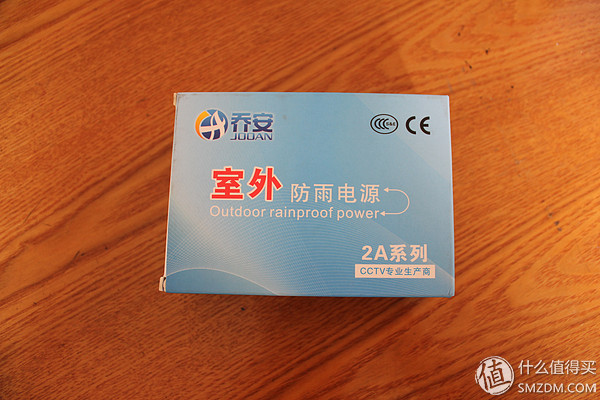
This is the dedicated 12V2A power supply for surveillance cameras. The camera is generally not equipped with a power supply. You need to configure it separately.
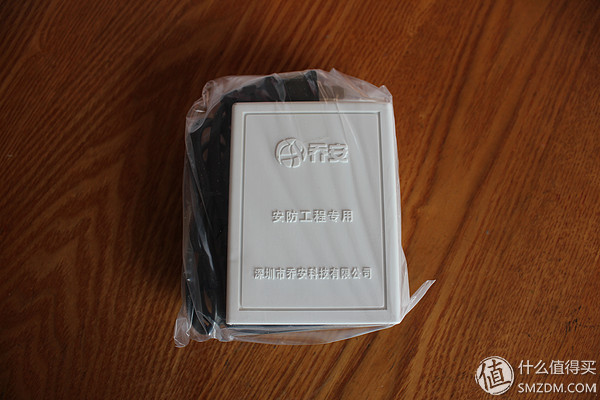
Take it out like this, and forget to take the details, is a box out of the two ends of the line, a plug 220V home socket, a plug in the camera.
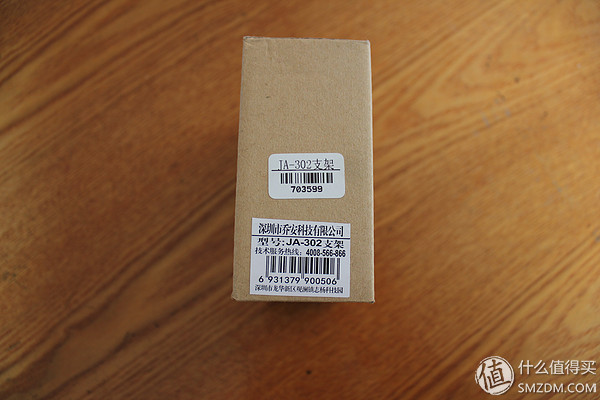
I bought a universal bearing that I can rotate freely
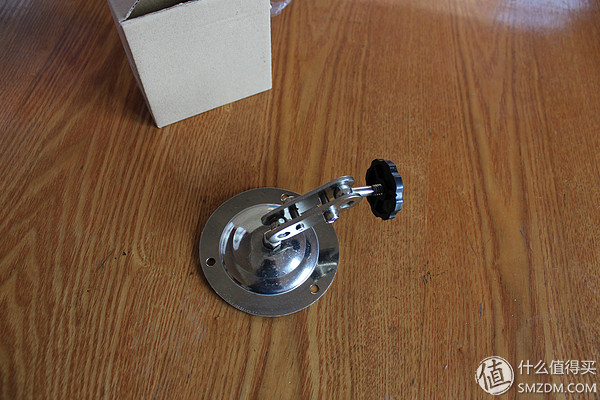
The following disc is used to fix it on the wall. The fixing bolt is the expansion screw. It has its own, and the other black head is used to connect with the camera. It is actually equivalent to a screw and a nut. Just screw it up and see whoever believes in kind will get it.
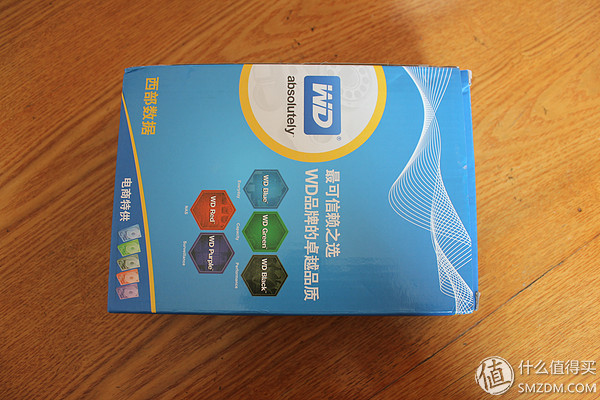
This is a Western Digital purple disk, dedicated to monitoring, with low startup power consumption and stable operation
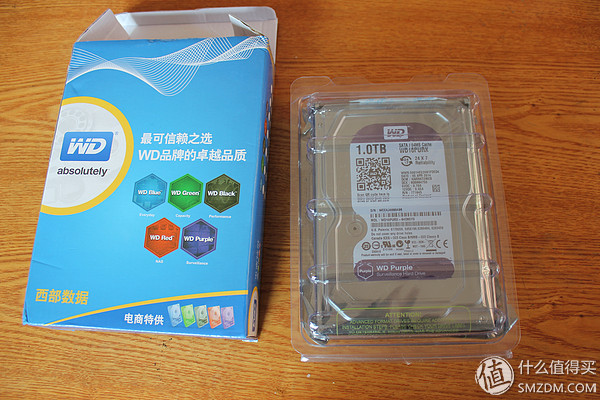
It's the same as other hard drives
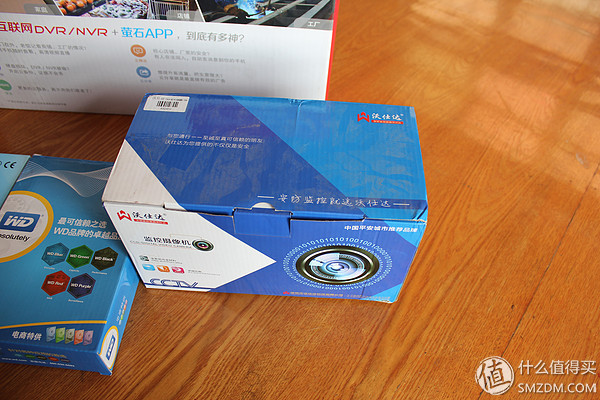
This is a network hard disk recorder
All the accessories here are actually a mouse, haha
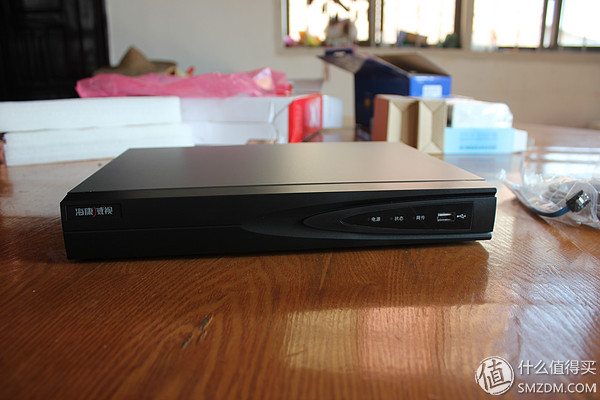
positive
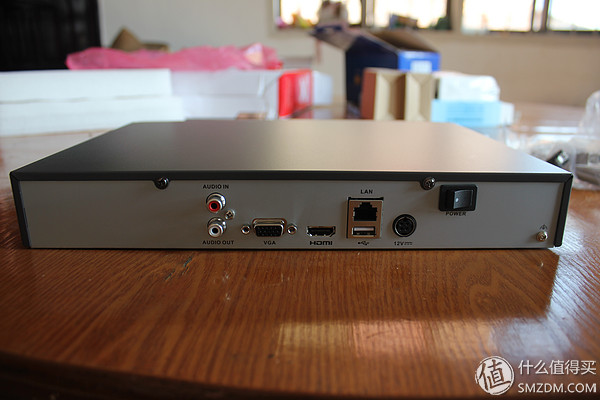
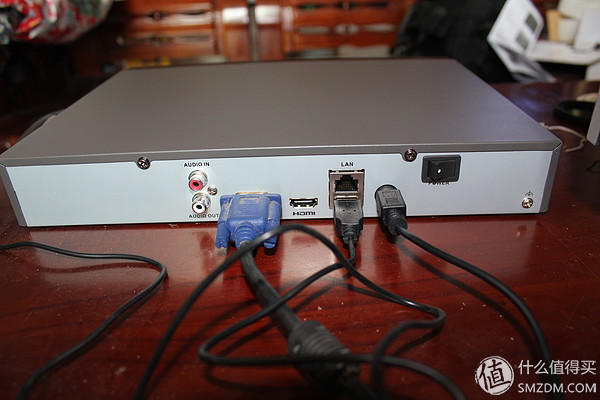
On the back, there are audio input, audio output, VGA output, HDMI output, network port, and USB to connect the mouse, power socket, and power switch.
I bought no audio input device, so the left two are useless, then I use the VGA monitor for video output. This thing only needs to be connected to the camera in the same local area network. It will automatically search to the camera according to the ONVIF protocol. data. Oh, yes, when selecting a video recorder and camera, as long as the device supports the ONVIF protocol, you can choose whatever brand you choose.
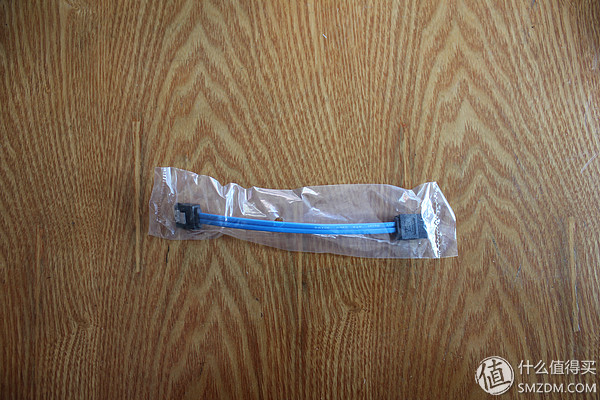
This is the hard drive SATA cable
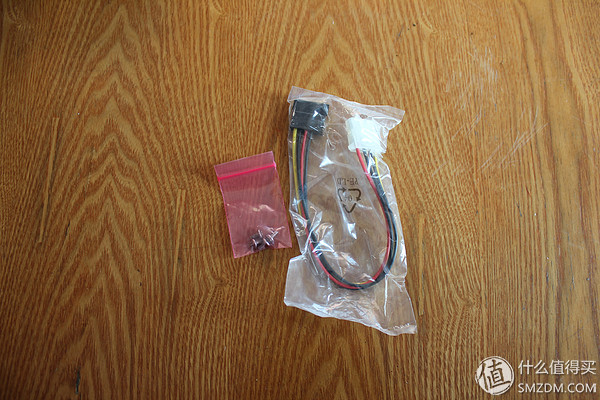
This is the movie line of the hard disk, actually it is IDE turn, the left is the hard disk fixing screw 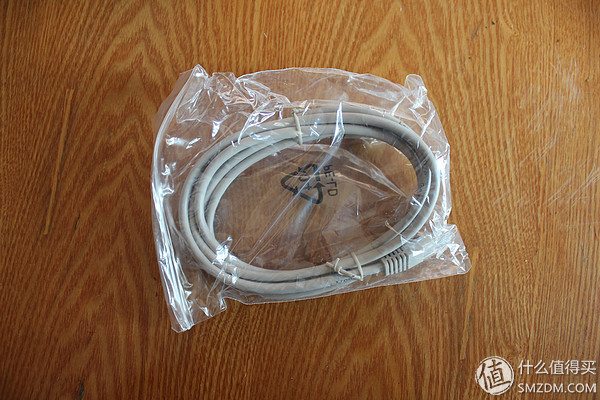
This is a network cable
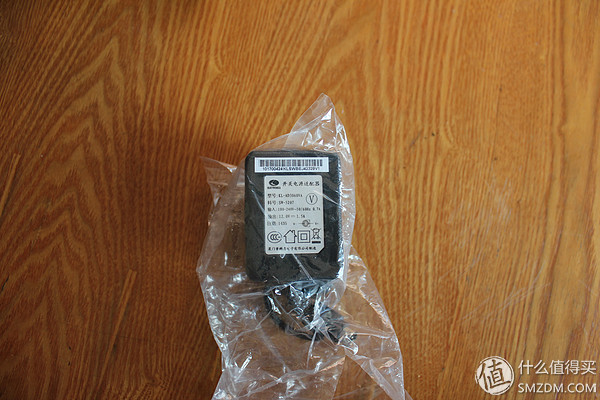
This is the power supply
Everything is introduced, the following installation began
First, put the hard disk into the video recorder. This requires the video recorder to be disassembled. It is very simple. The two screws on the side and the two screws on the back are very easy to find. They will not be photographed. I was shocked to open the camera.
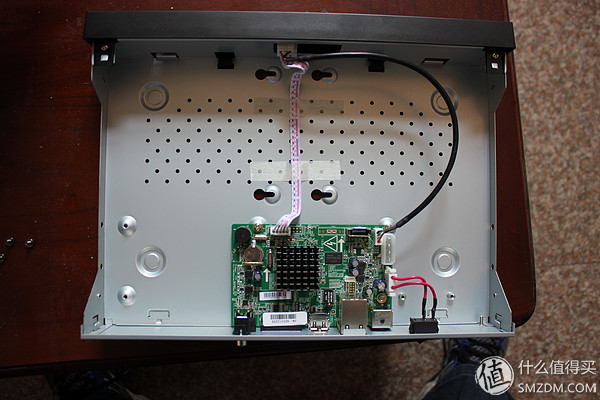
see it? More than 300 to buy a video recorder on such a circuit board, there is no pit father, ah, ah, ah, not as good as their own to buy a piece of ATOM integrated board, and regret it! However, power consumption and stability should be much better than this, (only to comfort myself)
Did you see the four holes in the middle of the box? It is used to fix the hard disk. It is very simple. Fix it with screws.
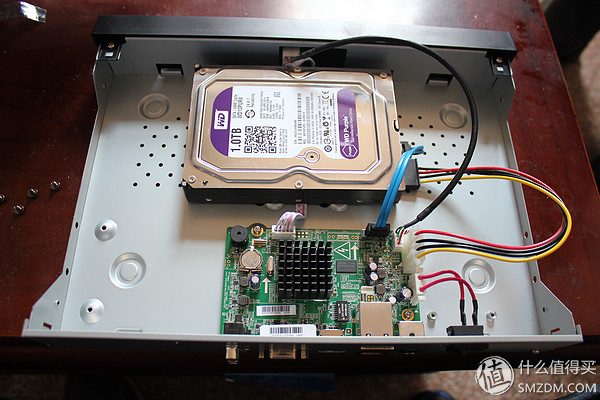
After installation, don't forget to plug in your hard drive data cable and power cord.
Put the cover back, tighten the screws, and plug in all kinds of plugs!
The installation of the camera was not photographed due to lack of manpower (in fact, it was because I did not want to )
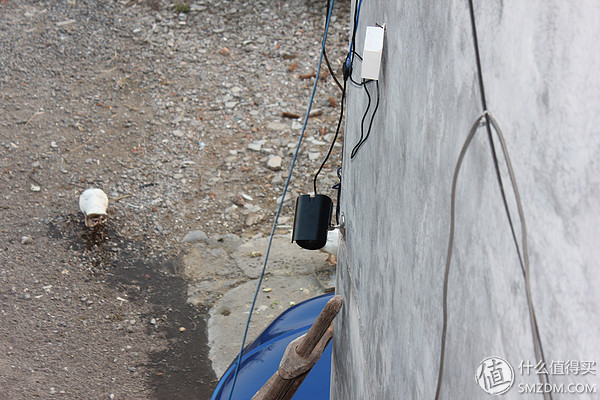
Completed picture of the installation to a
The car has a sharp corner Guess what car
In fact, it is very simple, first take the camera to adjust the angle of the height, determine the approximate installation position, and then hold the bracket disc, in the wall in accordance with the hole in the original plate to draw three circles, and then drill three holes with an electric drill, Put the expansion screw, and then tighten the camera and bracket first, screw the bracket to the wall, and then fix the bracket, OK, finished! No photo is only dictated, you forgive me.
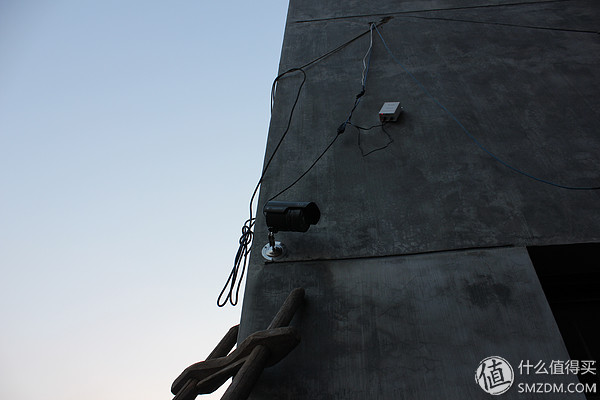
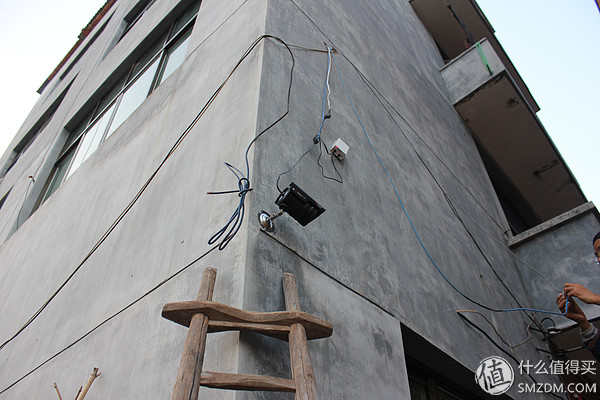
As there is no prior consideration, the line is a bit messy
The country house, built in the 90s, looks a bit frustrating,,,
The video recorder just needs some settings just after booting, but it is very simple and easy to understand. It is also skipped here. The following is the monitoring chart.
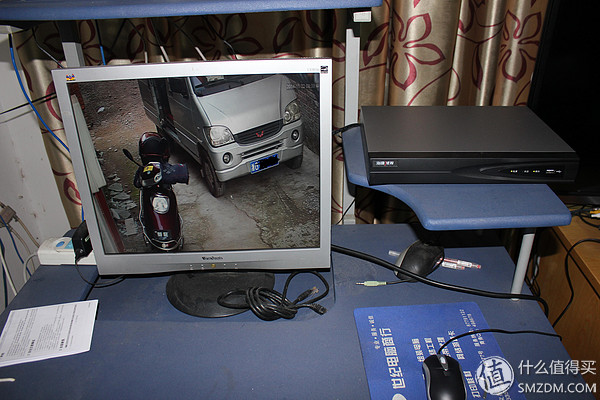
Photographed under the graffiti, under the picture can not see clearly, on the original map, all the details can be seen clearly
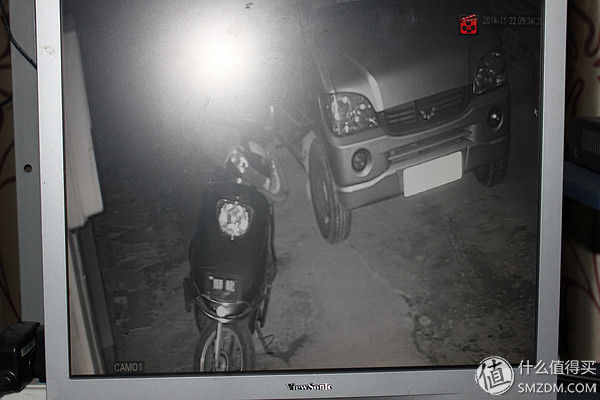
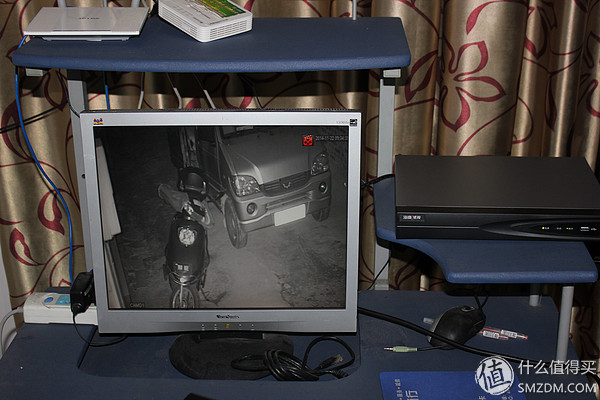
This is the effect of the evening, the camera automatically can not shoot it out, this did not graffiti
In fact, this can also be browsed through the Internet DDNS, but I did not get it, we slowly explore it
Well, to finish the singles here, I thought it would be a little difficult when I just bought it. I didn't expect it to be so simple. Everybody's heart is not hurrying to go