
As the saying goes, crabs are delicious shells. It's hard to sell kidney knuckles and handcuffed a HTC Vive, but I don't know how to install it. Mo panic, Mo panic! Xiao Zhijun helps you to share your worries. As long as you follow the following 10 steps, you can easily handle! What? There are too many 10 steps? There is very little! Think of these 10 steps, all kinds of VR movies, VR resources, VR games, VR gift packages for you to take , let you play!
1. Prevent wire knotting
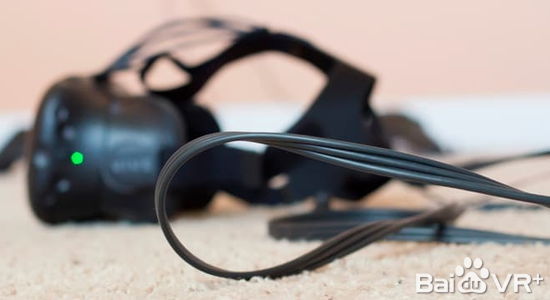
If you are accustomed to mobile virtual reality, one of the downsides of the PC, such as the HTC Vive, is that as you move around, you will drag a long wire behind you. If the wire is accidentally knotted, like a water pipe in a park, it will be difficult to stretch and hinder your actions.
If you can, let the wires spread out (rather than roll it up) when you are not using it. Our equipment has also been knotted, and since it was kept open, it has never happened again.
2. Change Chaperone settings
One of Vive's killers is the Chaperone system, which pops up a virtual wall that lets users know that they have reached the boundaries of the experience space. This is a default holographic wall with a tight grid that keeps flashing. If you like, you can change the appearance of Chaperone and show only the outline of the wall.
After wearing the Vive, press the controller's button (bottom button) to open the SteamVR menu. Click Settings in the lower right corner and select Chaperone. Initially it is the default setting out of the box, but Intermediate mode can reduce the density of the grid. Advanced mode only shows the outline of the wall.
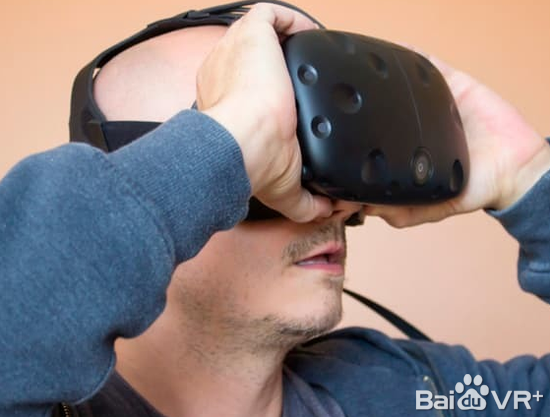
3. Adjust lens distance

You can slide the lens forward, move out of space, or pull back to get the largest field of view for you.
You just need to pop up the gray ring on the side of the head, then pull it forward or push it backwards. The angle of the lens is different (marking the horizontal angle), so you don't need to endure the worst field of vision with glasses.
4. Adjust pupillary distance
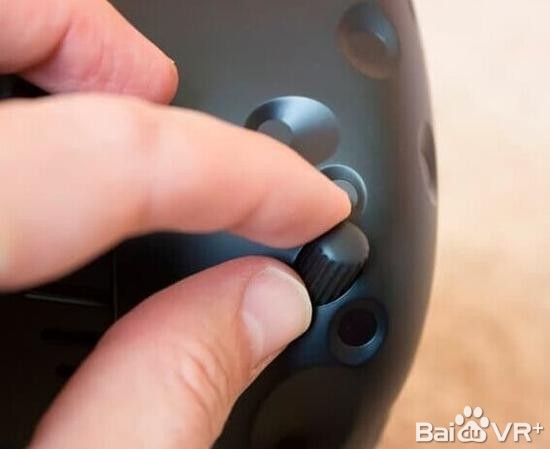
Look at the rotating button on the lower right side of Vive's head. When you put on the head, you can turn this button to adjust the pupil distance (that is, the distance between eyes).
During the adjustment process, a number will be displayed in the head display showing your current settings. If you have measured the eye distance, just match the numbers. However, we found that simply turning on the game and then adjusting the pupil distance to ensure clarity and comfort is not a simple matter.
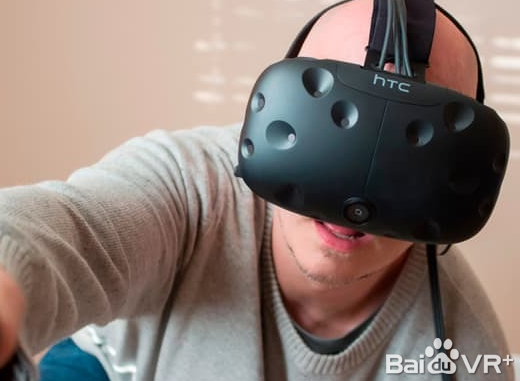
5. Keep your head up
When it comes to a clearer environment, head-mounted positions that are too low can lead to blurred vision. When adjusting the pupil distance, try to raise your head a bit more than usual to see if the visual field is clearer. If so, you can adjust the strap accordingly.
6. Wear wristbands in violent games
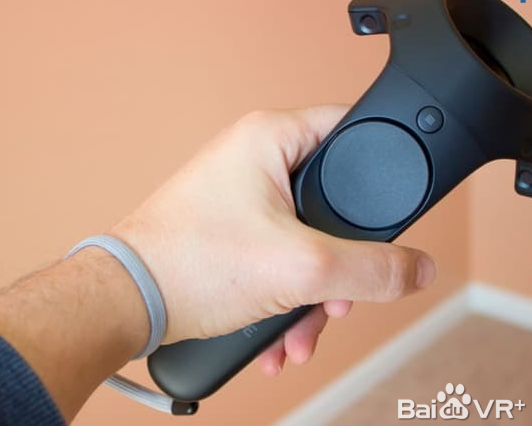
If it is a relatively gentle experience, we can ignore the controller's wristband. But for games like "Selfie Tennis" or "VR Baseball Home Run Derby," you need to swing your arm like you're Bond, and you'd better wear a wristband.
7. Avoid low-hanging objects
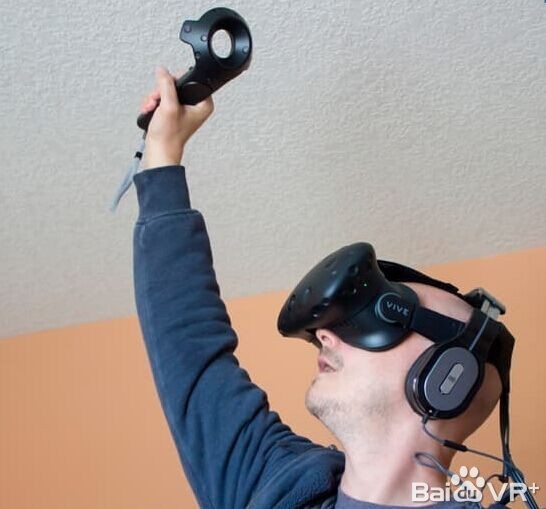
Some games will lead you to the controller overhead. The Vive Experience site initially had a ceiling fan fixture on the ceiling. We tried to inadvertently hit the controller.
If you also have the same situation, you can choose another room (if this is the only option) or move the overhang.
8. Keep the base station synchronized
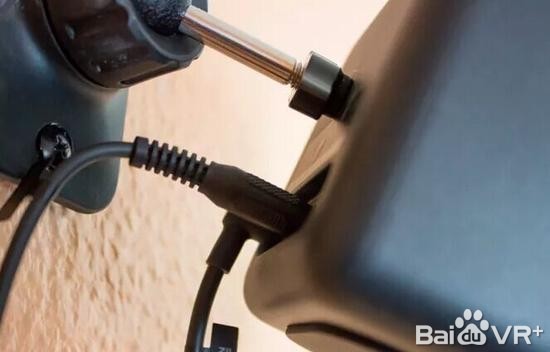
If the Lighthouse base station cannot identify the other party (the Vive screen will intermittently gray out, the PC's SteamVR app will pop up an optical error prompt), you can use Vive's bundled sync cable to resolve.
Insert the synchronization wires into the two base stations, and wrap the long wires around the edge of the room and experience a space outside the space boundary.
9. Do not use delivery headset
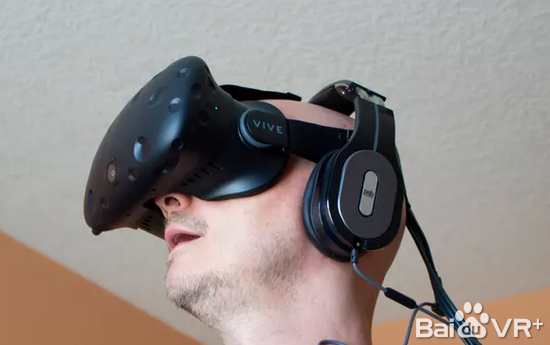
There is no problem with the Vive's headset, but sometimes it pulls into the ear. If you have your own headphones, stability and sound will be better.
If you insist on using headsets for distribution, don't let headphones and other wires entangle to reduce the risk of pulling your ears.
10. Restart it
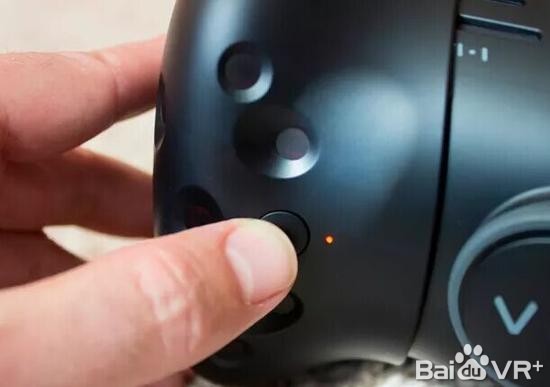
Most people don't use this hint, but if something is awful, the head seems to be scrapped, and the red light on the side of the head keeps flashing, but the PC has not detected it. There is a secret weapon here. Emergency recovery. Restart and resurrect your Vive.
First, exit SteamVR and PC running SteamVR. Then unplug the wires on the side of the junction box. Now press the button on the side while connecting the wires back to the box and hold for 15 seconds. After releasing his hand, Vive will return to life. Finally, perform the firmware update again.
After reading this, isn't it easy for everyone to read? Ladies and gentlemen, the little movie is going!
we are professional battery manufacturer in heated clothing industry over 10 years. we make all kinds of li ion battery packs for heated jacket, wlectric jacket, heated sweatshirt, heated motorcycle gear, heated boots, heated shirt, heated slippers, electric heated jacket, heated pants, battery heated jacket, heated glove liners, heated ski gloves, heated coat womens, heated vest womens, heated underwear, electric clothing, heated motorcycle jacket, heated gloves and socks, heated hunting jacket, electrician pants, heated hat, battery operated gloves.
we offer the most extensive models for heating clothing industry, our heating clothing batteries range from 3.7v to 14.8v most popular models, capacity from 1800mah to 10000mah, with LED light and switches to display remaining power level and set output levels. OEM/ODM accepted and we are specilisted in design these batteries, providing industry design, pcb design, tooling design, moulding service, prototyping, and flexiable small quantity manufacturing.

Heated Clothing Battery,Heated Jacket Battery,Heated Gloves Battery,Heated Vest Battery
Asarke Industry Co., Limited , https://www.asarke-industry.com